Roof vents are easy to overlook when you are comparing roof replacement estimates or planning a solar installation. They sit above your head, rarely attract attention, and do not have the visual appeal of new shingles or black solar panels. Still, the ventilation system can influence attic temperature, moisture control, shingle life, and where solar equipment can be installed. Start with the roof, not the pitch, and understand the ventilation plan before approving a major project.
Why attic ventilation matters
A roof system needs a way for hot or damp air to leave the attic. In a vented attic, cooler air usually enters through soffit or eave openings while warmer air exits near the roof peak. This circulation helps reduce trapped heat in summer and limits condensation during colder months. It does not make an attic air-conditioned, but it can support a healthier roof assembly.
Poor ventilation can show up as stained decking, damp insulation, musty odors, peeling paint near the ceiling, or unusually high attic temperatures. In winter, warm household air that reaches a cold roof deck can condense into moisture. In summer, excessive heat can make the attic harder on air-conditioning equipment and may contribute to premature shingle aging.
The goal is balanced airflow, not simply adding as many openings as possible. A large exhaust opening without enough intake air can pull conditioned air from the home or fail to move air effectively. Before changing anything, have the contractor identify existing soffit vents, exhaust points, insulation depth, and any blocked channels.

Common roof vents and where they fit
The most familiar roof vents are ridge vents, which run along the peak and provide a low-profile exhaust path. When paired with open soffit intake, ridge ventilation creates a continuous outlet near the highest point of the roof. It is often considered during a reroof because installation can be coordinated with the new ridge cap shingles.
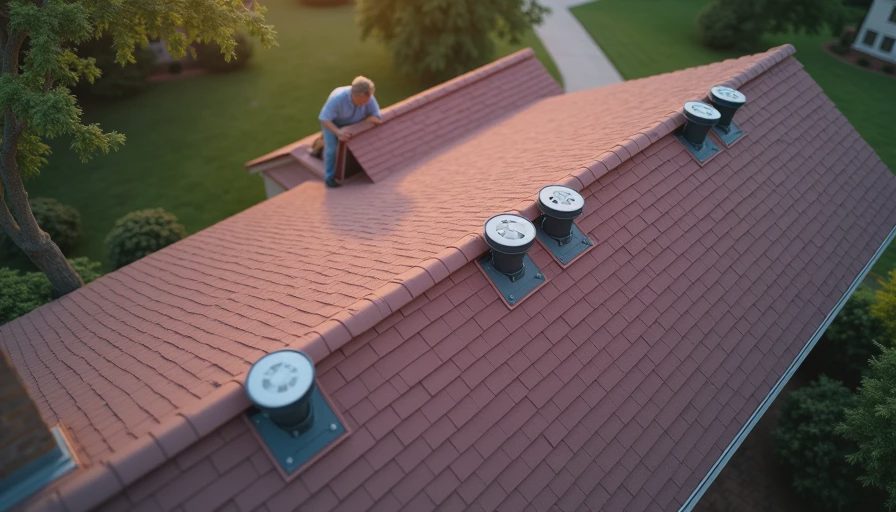
Box vents, sometimes called static vents, are square or rectangular openings installed near the roof peak. They have no moving parts and can work on roof designs where a continuous ridge vent is impractical. Turbine vents use wind-driven fans to move air, while powered attic fans use electricity to force air through the attic. Both can be useful in specific layouts, but they require closer review of placement, maintenance, and electrical connections.
Gable vents are installed in the vertical walls at the ends of an attic. They can help on homes designed around cross-ventilation, although their effectiveness depends on wind direction and attic shape. Mixing different exhaust styles without a plan can reduce performance, especially if one opening draws air from another instead of from the soffits.
What to ask during a roof replacement
A roof replacement is the best time to inspect and correct ventilation because the contractor has access to the roof deck. Ask for a written description of the current system and the proposed system. The estimate should identify intake locations, exhaust locations, damaged decking, flashing work, and whether any existing vents will be removed or reused.
Ask whether the ridge is open enough to accept a ridge vent and whether soffit vents are clear. Insulation can cover intake openings, particularly after attic upgrades. A contractor might need to install baffles that preserve a channel between the soffit and roof deck. Without that path, adding an exhaust vent at the top does not solve the underlying airflow problem.
Costs vary by roof size and design. A basic ventilation adjustment might add a few hundred dollars to a reroof, while new intake work, powered equipment, electrical service, and extensive decking repairs can push the total higher. The important comparison is not the lowest line item; it is whether the proposed work creates a balanced system and protects the new roof warranty.
Roof vents and solar panels need a coordinated plan
Roof vents can affect solar layout because panels need clear, usable roof space. A ridge vent usually remains in place at the roof peak, but box vents, turbines, plumbing stacks, skylights, and powered fans can interrupt panel rows. Moving a vent after solar installation may require panel removal, extra labor, new flashing, and a revised inspection.
Before signing a solar contract, request a roof plan that shows panel locations, setbacks, roof penetrations, and existing ventilation. If the roof is near the end of its expected service life, replace or repair it first. Removing panels later for a reroof commonly adds several thousand dollars, depending on system size, local labor, equipment access, and whether the installer is still available.
A combined project can save money when the roofing and solar teams coordinate schedules. It can also hide confusion. Make sure the contract states who handles flashing, roof penetrations, leak repairs, panel removal, and warranty claims. The roofing company may warranty shingles and workmanship, while the solar installer covers racking and electrical equipment. Those boundaries should be clear before work begins.
Warning signs that the current system needs attention
Walk through the attic on a cool day and look for daylight around intended intake openings, wet insulation, rusty nails, dark roof sheathing, or mold-like spotting. Do not step directly on attic insulation or roof decking unless there is a safe walking surface. Outside, look for missing vent covers, cracked flashing, bent turbine components, or exhaust outlets that are blocked by debris.
Persistent moisture can have more than one cause. A bathroom fan that terminates in the attic, an unsealed attic hatch, a roof leak, and inadequate ventilation can create similar symptoms. Sending a contractor straight to install another exhaust vent may treat the visible problem without finding the source. Ask for photographs and a specific explanation of how the recommendation addresses the moisture path.
Powered attic fans deserve extra scrutiny. A fan that runs constantly can consume electricity and, if intake is insufficient, draw air from the living space through ceiling leaks. That does not mean every powered fan is a bad choice. It means the fan should be sized and installed as part of a complete ventilation design rather than added as a quick fix.
A practical project sequence for homeowners
Start with an independent roof inspection or a detailed inspection from a contractor who will document the roof deck, shingles, flashing, intake, and exhaust. Next, determine whether the roof has enough remaining life to justify solar. If replacement is likely within the next several years, complete that work before panels are installed.
During bidding, compare the ventilation scope line by line. One estimate might include a ridge vent but no soffit correction. Another might include intake baffles, replacement box vents, and attic sealing. Those are not equivalent proposals, even if the shingle brand and total roof area are similar.
Then coordinate permits, roofing, solar racking, electrical work, and inspections. Roofing should generally be completed before solar mounting, and the roof should be checked after the roofing crew leaves. Take photographs of flashing and penetrations before panels cover them. Keep contracts, product warranties, permits, and final inspection records together.
The right order matters as much as the right product. Good roof vents cannot compensate for a leaking roof, blocked intake, or poorly sealed ceiling. Likewise, a new roof does not automatically solve attic moisture if the ventilation design remains incomplete. Do not bundle confusion into the biggest check you write this year. Get the roof plan in writing, make solar fit the roof rather than the other way around, and use the project to create a durable system instead of an expensive patch.